Click “Install GitHub App” (GitHub App tab should be pre-selected)
3
Complete GitHub Flow
On GitHub’s side:
Select your organization
Choose repositories to grant access to
Approve the permission set
If you are not already logged in to ZeroPath, you will be redirected to the login page first. After logging in, the installation will resume automatically.
4
Wait for Sync
You’ll be redirected back to ZeroPath. Wait for repositories to appear under “Accessible repositories” (syncing indicator will show if still processing)
5
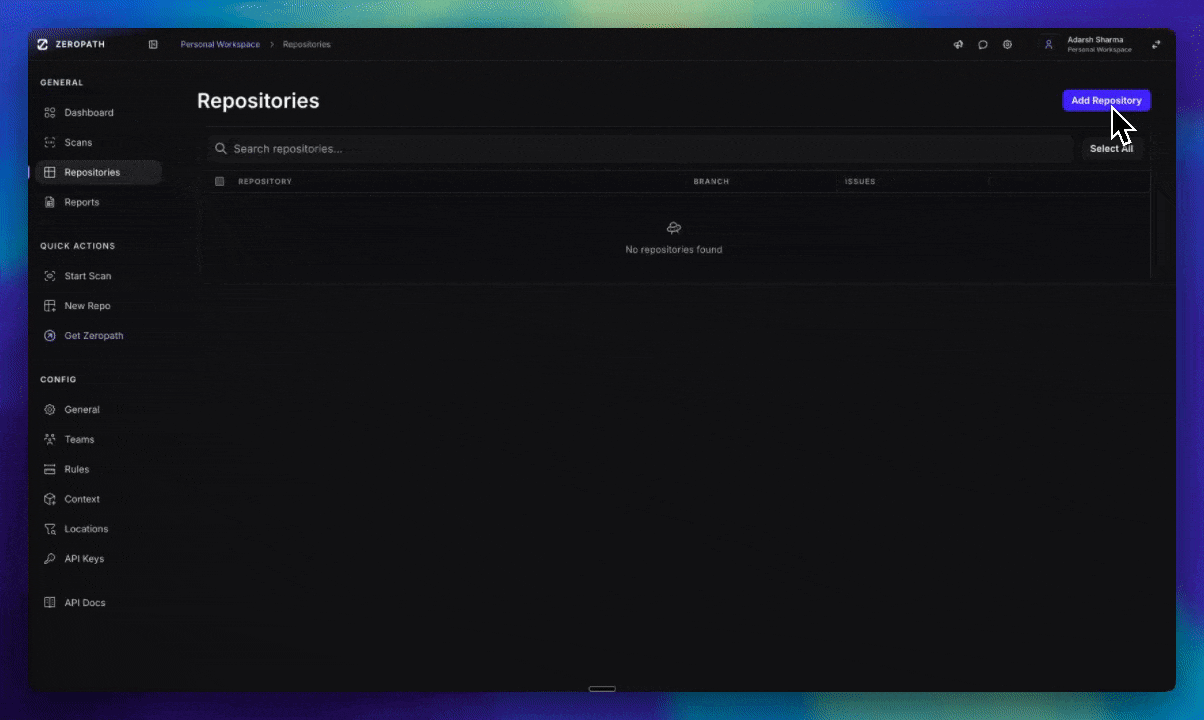
Add Repositories
Select which repositories to add to ZeroPath, or click “Add All”
Enable “Auto Add” to automatically add new repositories when you grant access in the future
Connect repositories hosted on your own GitHub Enterprise Server (GHES) instance.
Enter your GHES instance hostname (e.g., github.example.com). If your instance uses a
self-signed or internal CA certificate, upload the CA bundle so ZeroPath can establish a
trusted connection.Click Create App to begin the GitHub App Manifest flow. You will be redirected to your
GHES instance to confirm app creation.
4
Install the App
After the app is created, you are automatically redirected to your GHES instance’s app
installation page. Select the organization whose repositories you want to scan and approve
the permissions.
If you do not have permission to install the app directly, your request will be sent to an
organization owner for approval. Repositories will appear once the owner approves the
installation.
5
Wait for Sync
You will be redirected back to ZeroPath. Your GHES repositories will begin syncing and
appear under “Accessible repositories” once ready.
6
Add Repositories
Select which repositories to add to ZeroPath, or click “Add All”.
Connect GitHub repositories using a personal access token for scanning only.
Token-based connections have limited features: auto PRs, PR checks, and other GitHub flows are not available. Use GitHub App for full functionality.
Click the Azure DevOps tab, then click Setup Azure DevOps.
3
Enter Your Organization URL
Enter your Azure DevOps Services organization URL, such as
https://dev.azure.com/my-organization.
4
Authorize ZeroPath
Continue through the Microsoft consent screen. ZeroPath stores encrypted credential material
and uses it to list repositories, create service hooks, scan pull requests, and open patch
pull requests.
5
Add Repositories
After the OAuth callback, repositories appear under Accessible repositories. Select
repositories to add, or click Add all accessible Azure DevOps repositories.
In Azure DevOps Services, create a PAT with repository read/write access, pull request
thread read/write access, status/build access, and service hook management access.
2
Use the PAT Setup Form
In the Azure DevOps setup dialog, switch to Personal Access Token, enter your
organization URL and PAT, then click Connect with PAT.
3
Add Repositories
Once ZeroPath validates the token, import individual repositories, selected batches, or all
accessible repositories.
Azure DevOps Integration Guide
See the full Azure DevOps setup, scope, and troubleshooting guide.
Scan any publicly accessible Git repository by providing its URL.